In this guide, we’ll show you how to set up MetaMask and connect it to Sargo for fast, low-fee stablecoin swaps. MetaMask keeps your assets safe while connecting you seamlessly to Sargo.io. Lets dive in!
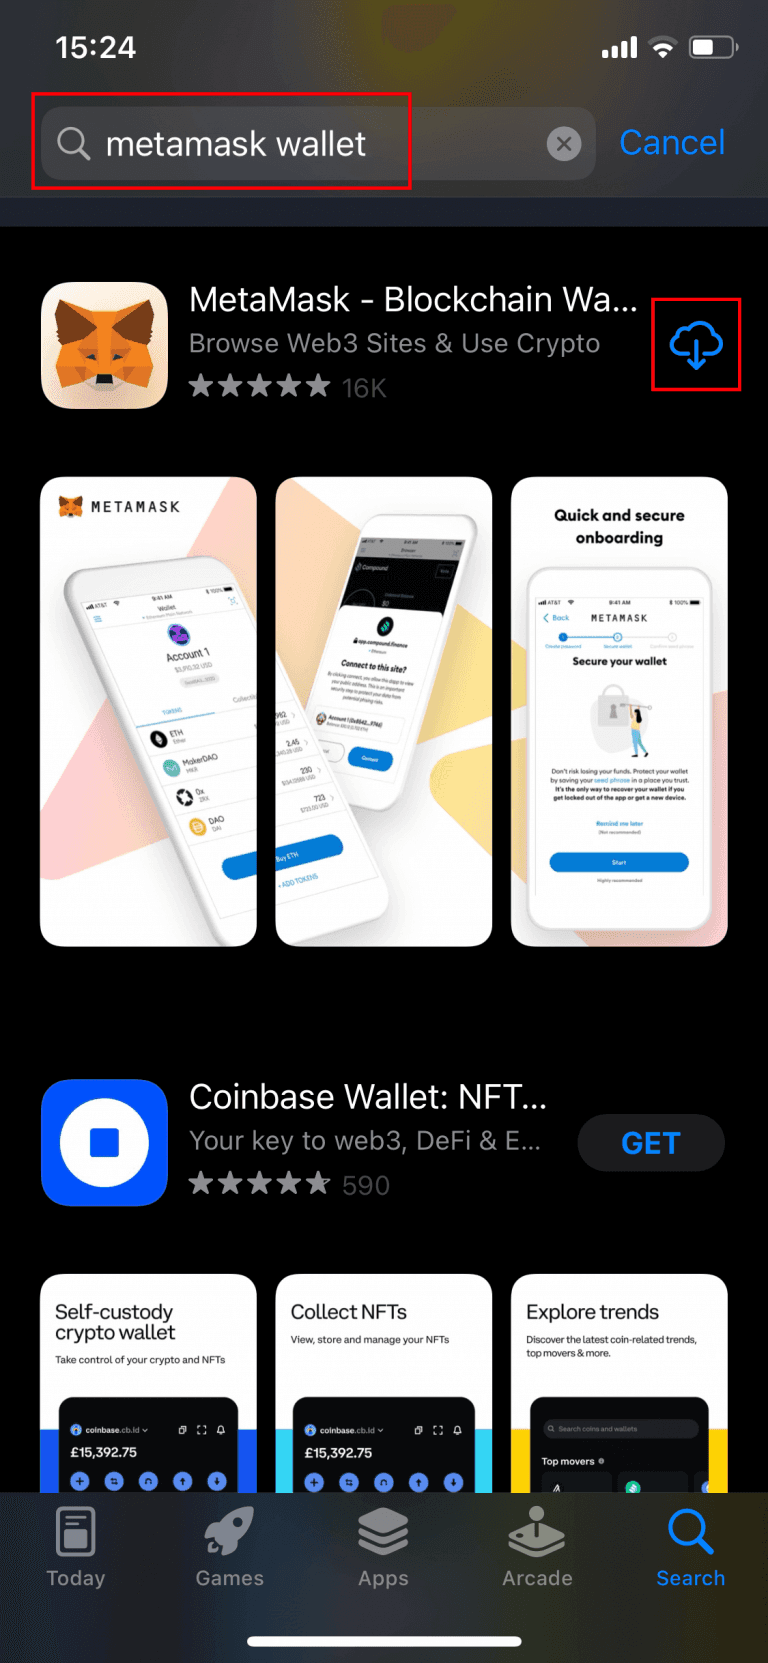
Step 1: Install Metamask Wallet App
Open app store on your phone → Search “metamask wallet” → Tap Download then Install App → “Open” app
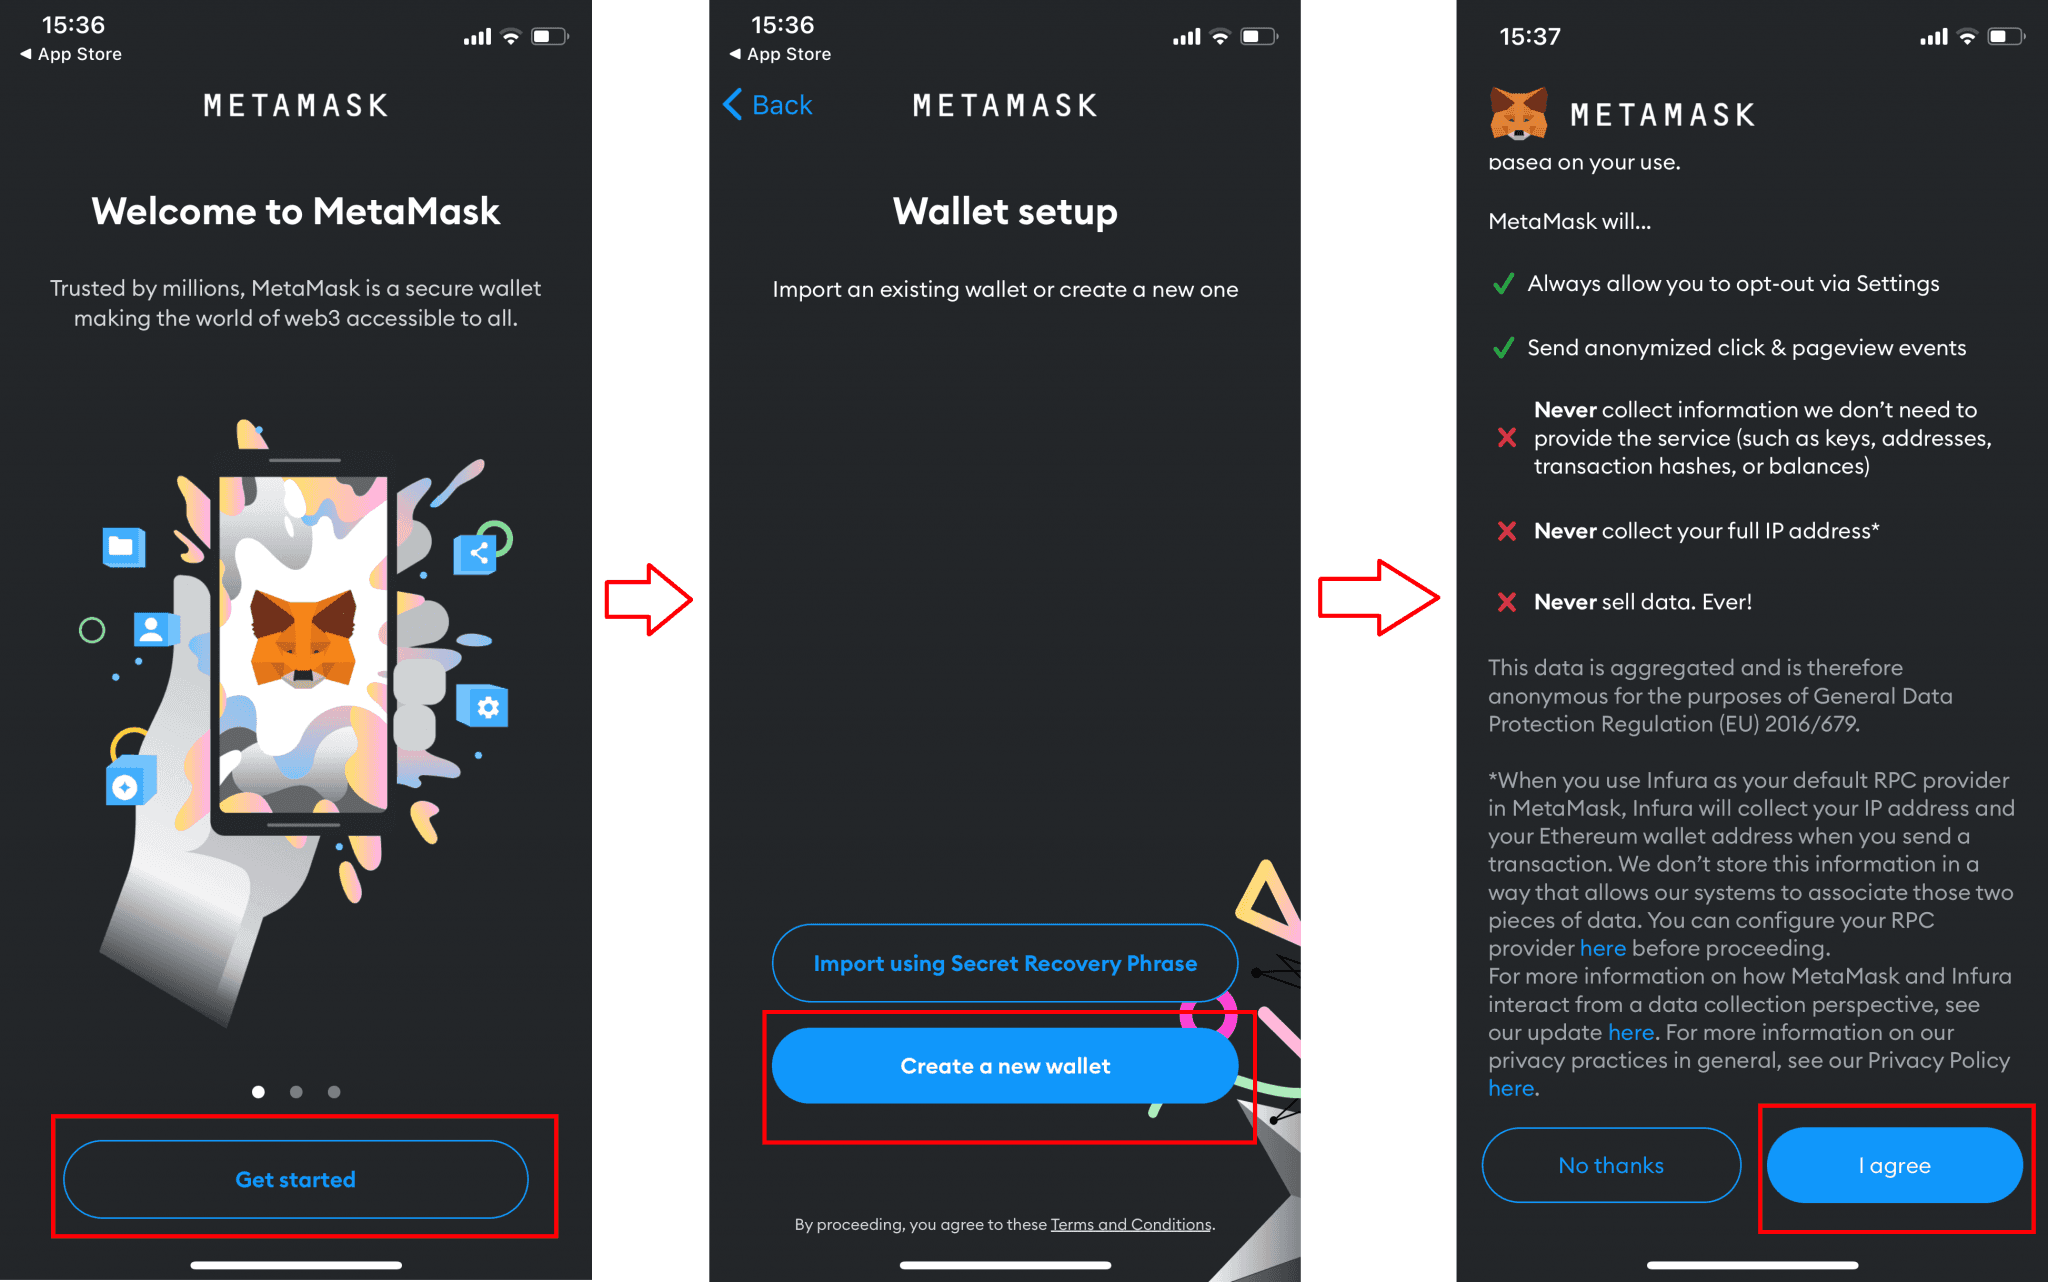
Step 2: Get Started
Click “Get Started” → Click “Create a new wallet” → Scroll down to read all Metamask Terms & Condition then click “I agree“
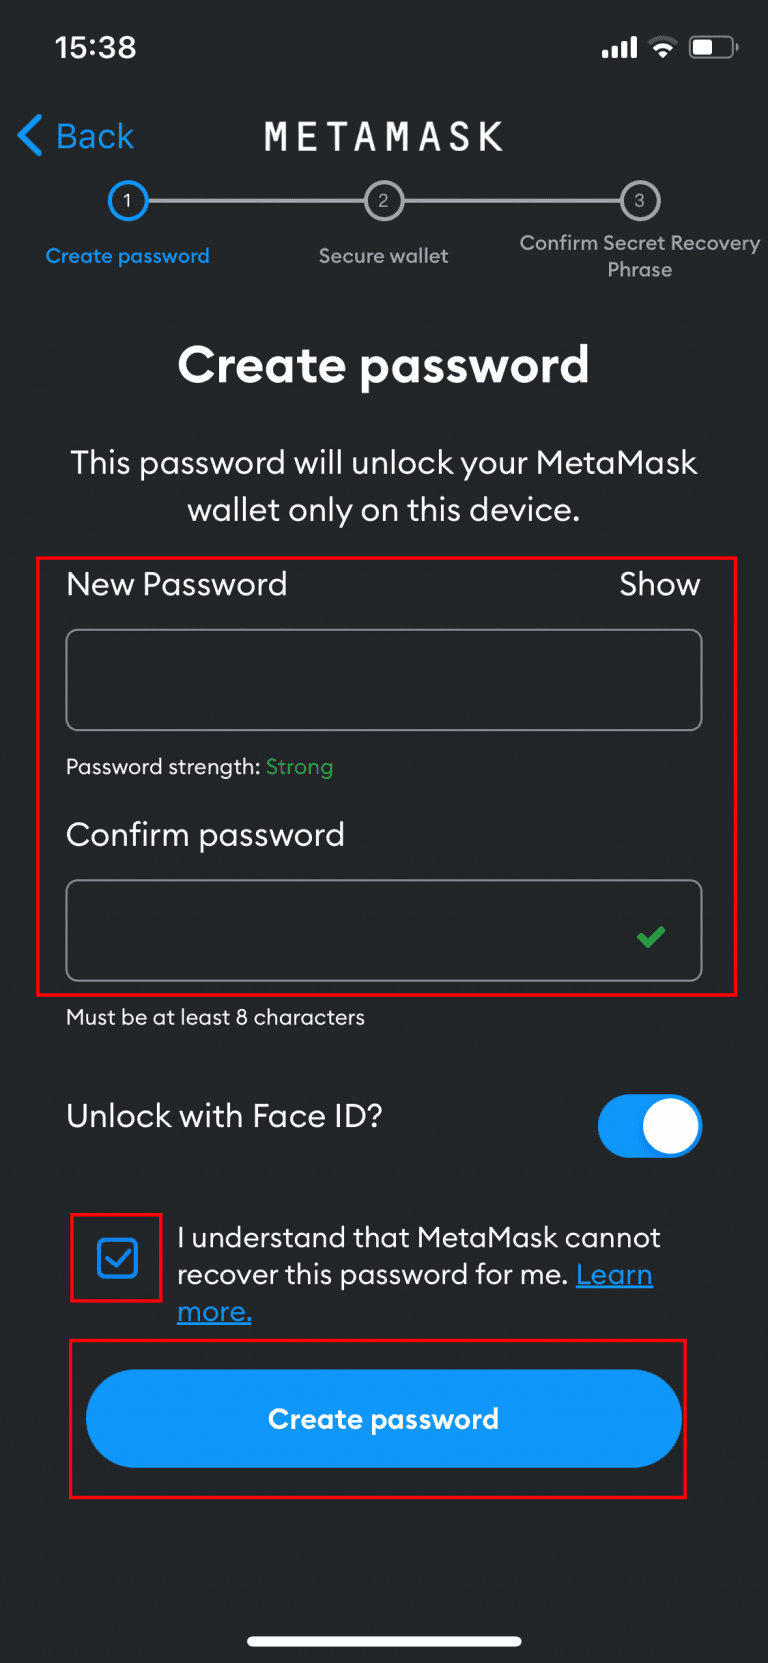
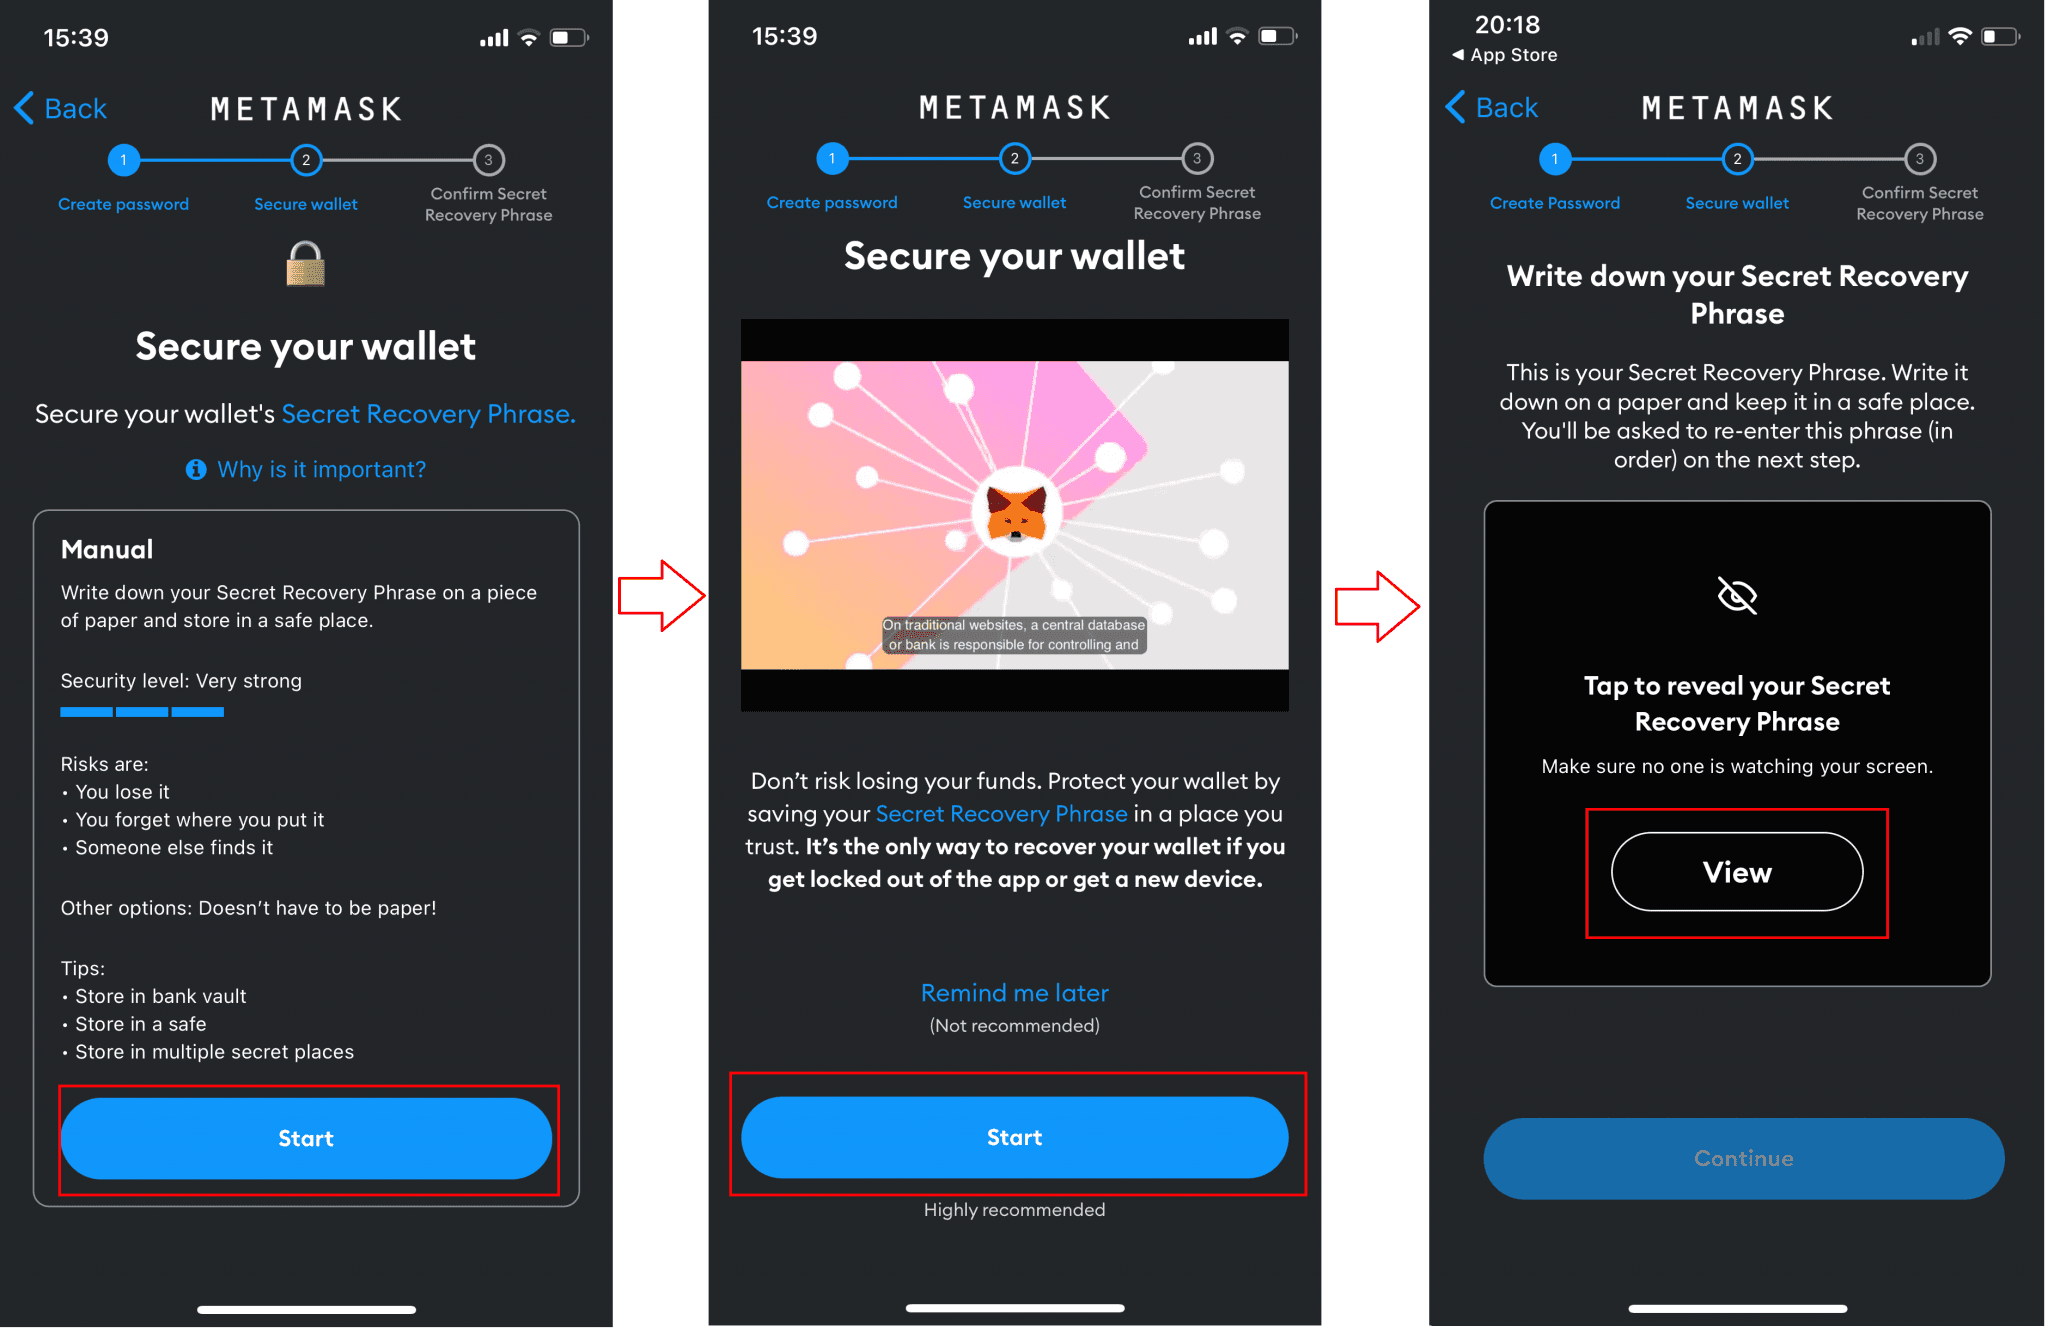
Step 3: Create A Password
Enter your password for your Metamask wallet. Please keep in mind that the password must be a minimum of 8 characters in length.
Don’t forget to tick the checkbox before clicking the “Create Password” button.
Step 4: Save Your Recovery Phrase
Afterward, Metamask will recommend that you view and store your Secret Recovery Phrase. This is crucial for recovering your wallet if you become locked out of the application or switch to a new device. Therefore, it is important to carefully write down these phrases and store them securely.
Click “Start” → Click “Start” → Click “View“
Write down your Secret Recovery Phrase → Tap “Continue” → Tap each word in Secret Recorvery Phrase in the order it was presented to you → Tap “Complete Backup."
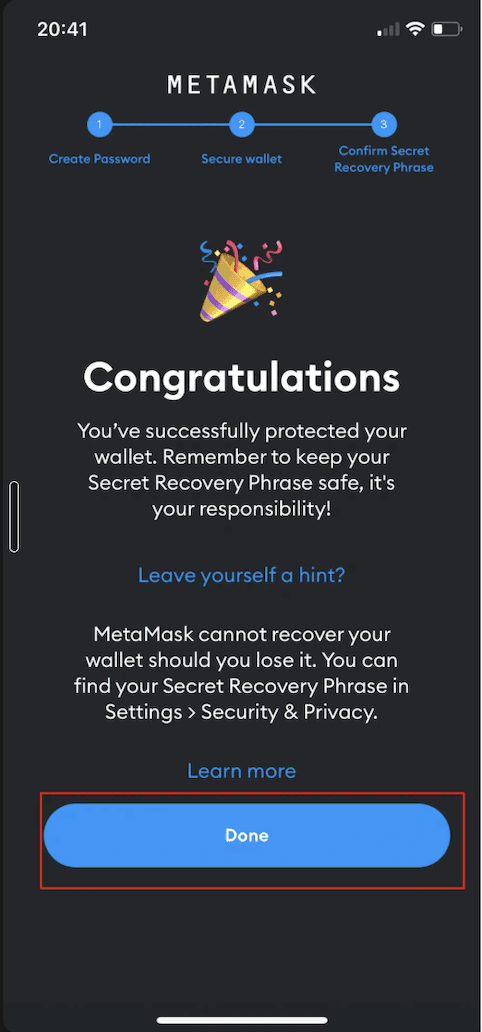
Step 5: Metamask Wallet Creation Completed
Congratulations on successfully creating your wallet! Click “Done” and you will be able to view your wallet.
Step 6. Add the Celo Network to Your MetaMask Wallet
Option A
Sargo.io operates on the Celo blockchain. To interact with it, you'll need to add the Celo network to your MetaMask wallet.
Go to Chainlist.org: In the MetaMask browser, type https://chainlist.org into the URL bar and press enter. Chainlist is a trusted tool for easily adding new blockchain networks to MetaMask.
Search for Celo: On the Chainlist website, use the search bar to find "Celo."
Connect Your Wallet: A "Connect Wallet" prompt will appear. Approve this connection to allow Chainlist to interact with your MetaMask.
Add the Celo Mainnet: You will see an option for "Celo Mainnet." Tap "Add to MetaMask".
Approve the Network Addition: A MetaMask notification will pop up asking for your permission to add the Celo network. Approve this. You will then be prompted to switch to the Celo network. It's a good idea to do this now.

Option B
Click the network dropdown at the top of MetaMask (it might say “Ethereum Mainnet”), then select “Add Network”. Enter Celo’s network details and save:
Network Name: Celo
New RPC URL:
https://forno.celo.orgChain ID:
42220Currency Symbol: CELO
Block Explorer URL:
https://celoscan.io(optional)These are the parameters for Celo’s mainnet. Double-check each field, then click Save. MetaMask is now connected to Celo!
Step 7: Accessing Sargo dApp using metamask wallet
To connect to Sargo, tap Browser and enter sargo website Url: https://sargo.io/
This should open the website. Locate the Connect Wallet button.
Select Metamask Wallet from the list of available wallet options. A pop-up window from Metamask wallet will appear.
Create account if you have no account yet
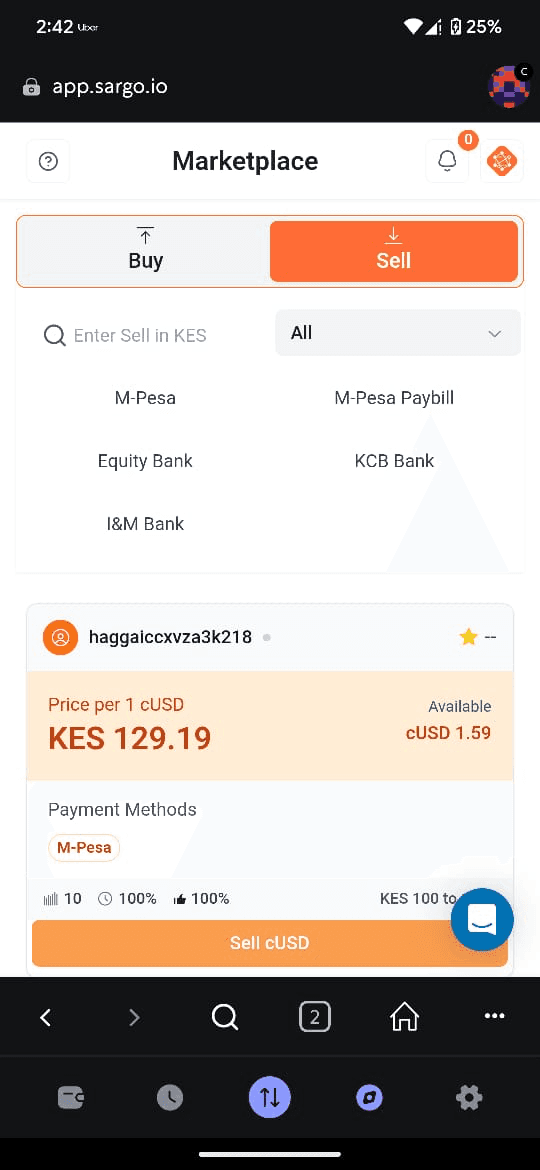
You are now ready to use Sargo.io!
Once your wallet is connected, you can begin to use the features of the Sargo.io platform to conduct P2P swaps.